The following guide will teach you how to create a tour on ExpeditionsPro using a PC.
ExpeditionsPro provides Free VR Tours and Expeditions in fully immersive Virtual Reality. It includes the same great features you are used to from Google Expeditions. Classroom content, working offline, instant annotation and simple touch interface all make a return.
ExpeditionsPro allows you to carry out a variety of functions. You can import previously created tours or create your very own. You can view public and professional tours and lead tours in the classroom. We’ll also be adding a number of great new features educators have been asking for such as Video Playback and playlist creation.
How to create a tour using a PC:
- Go to tours.expeditionspro.com
- Sign in with your ExpeditionsPro account. If you don’t know how to make one then check out our guide.
- Click My Tours in the top right hand corner
- Click New Tour
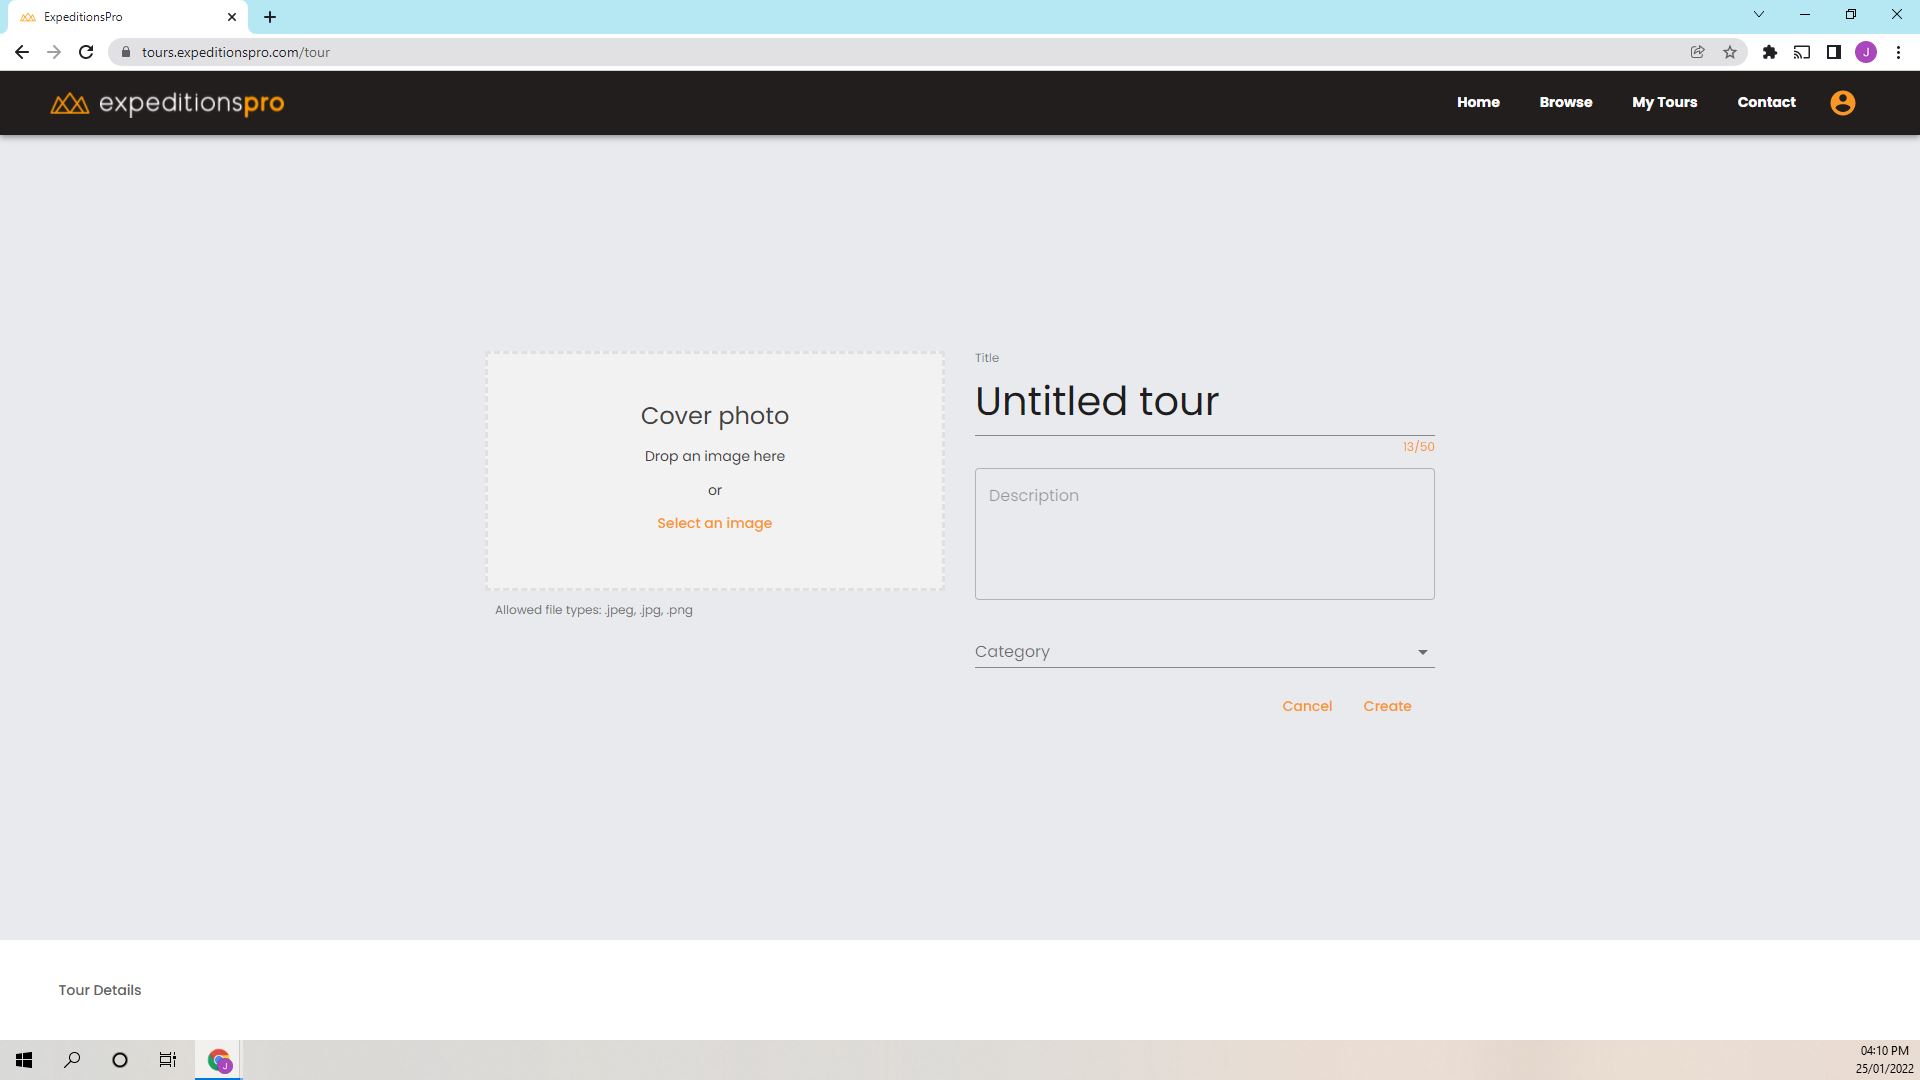
Name your tour and provide a description. Add a cover photo, choose which category you’d like the tour to be in and then click create. Use the toolbar at the bottom of the page to add and edit scenes within a tour.
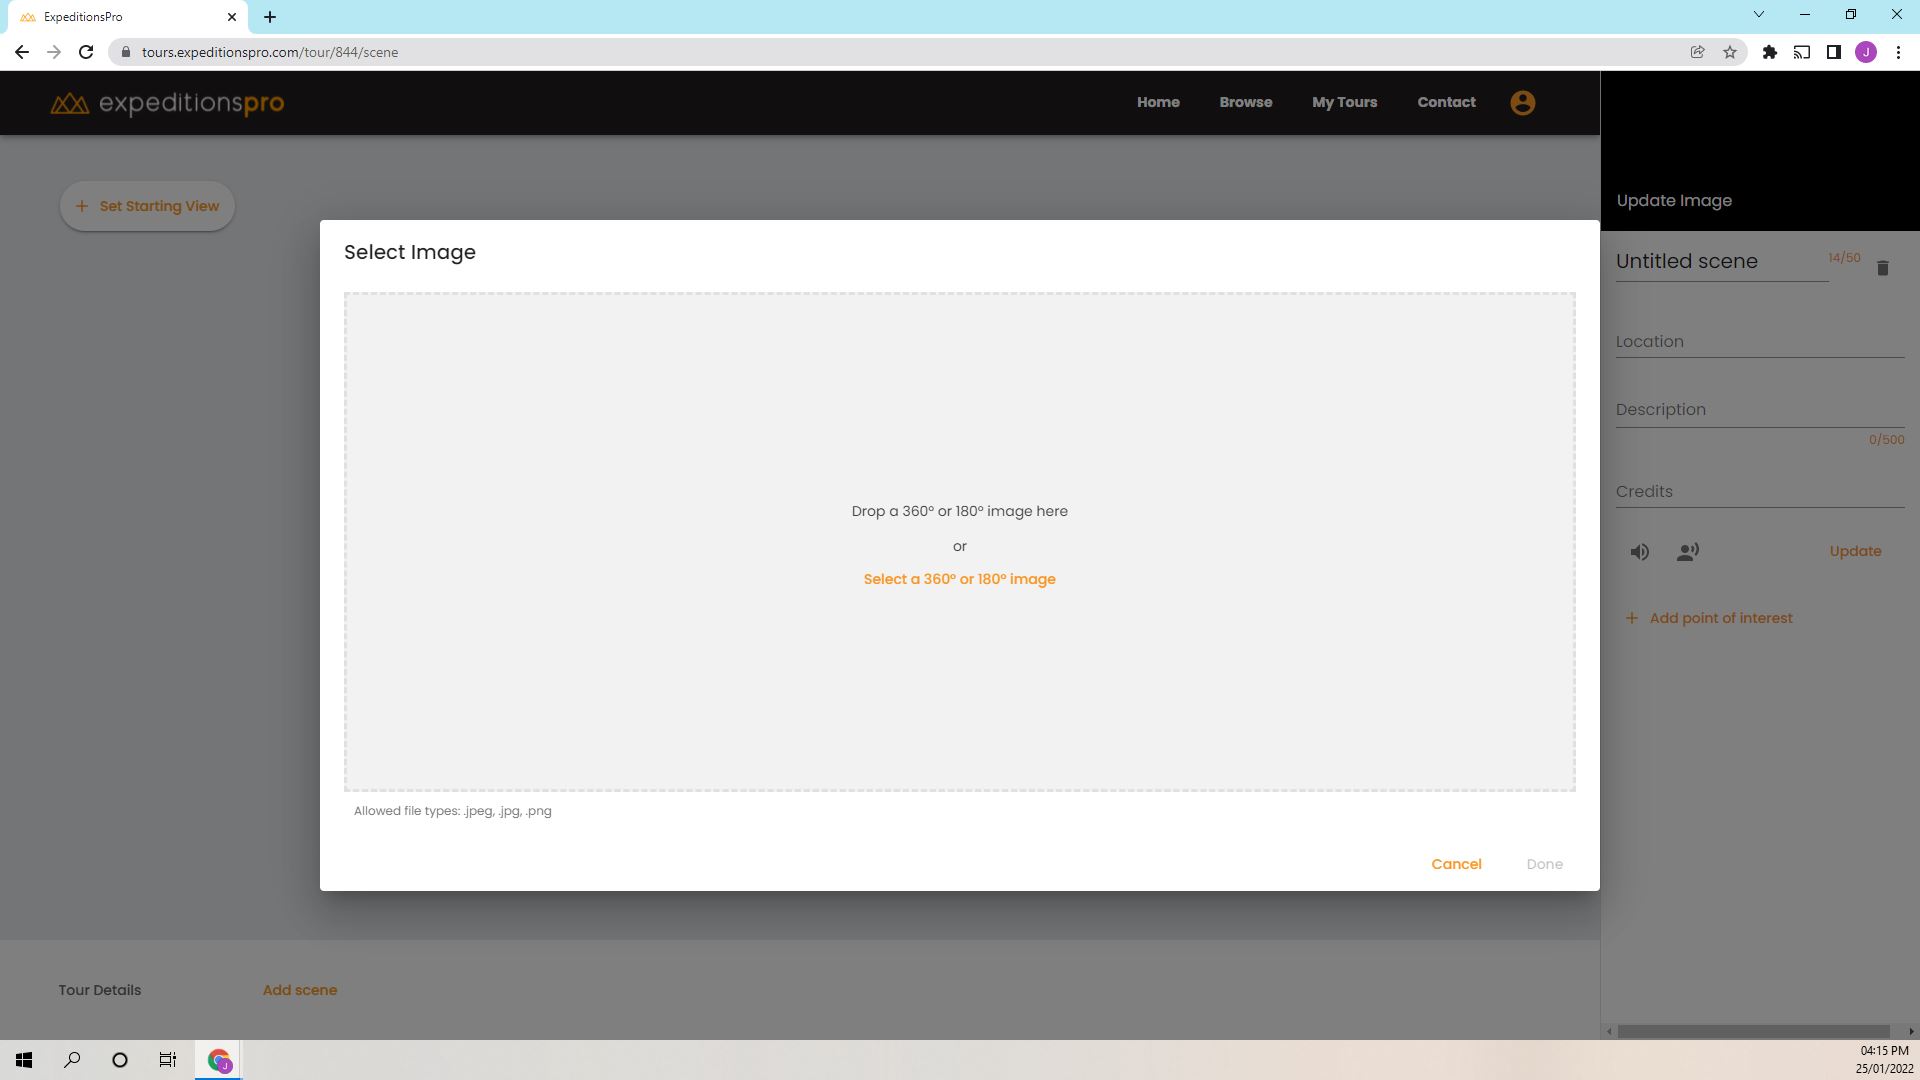
When adding a new scene, simply drag and drop a 360° or 180° image into the window.
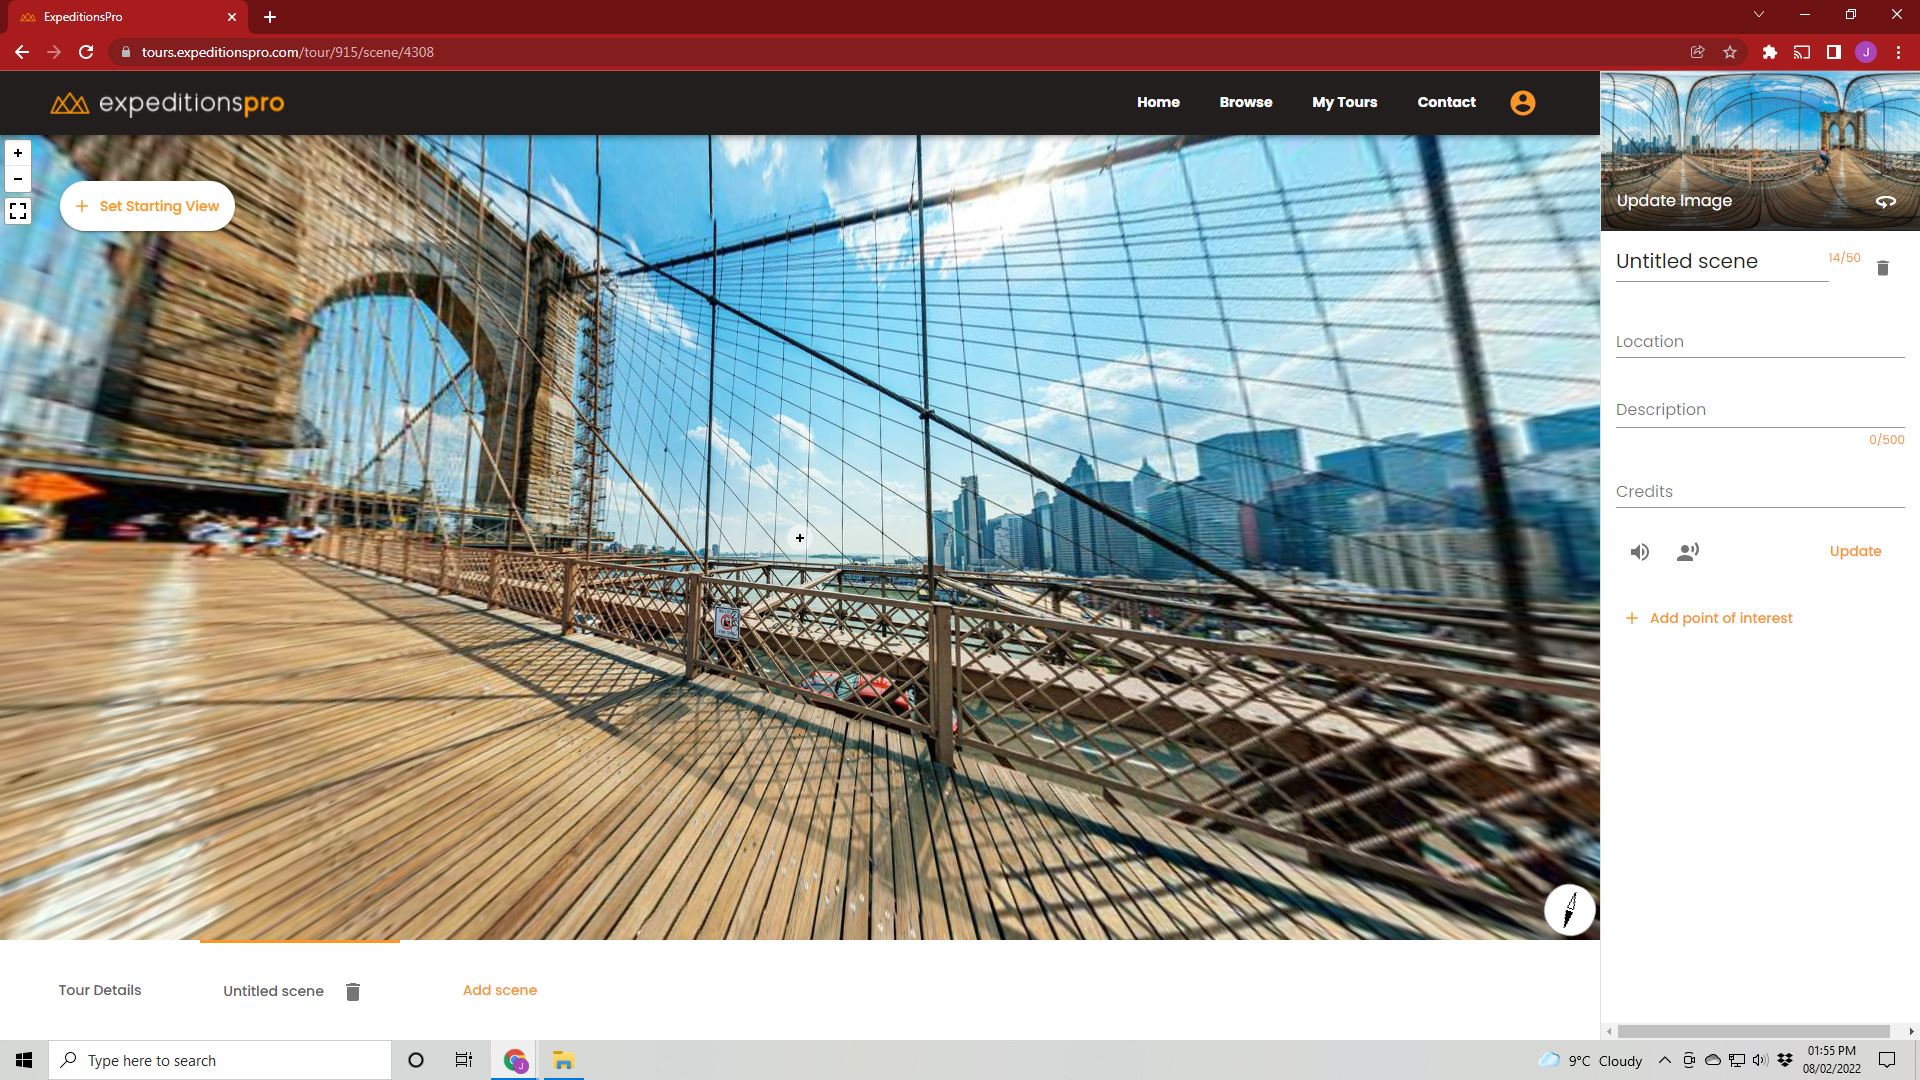
From here, the scene name can be edited, a location can be added, a description can be given and hotspots and scene narrations can be uploaded. Adding scene narrations can improve the overall quality of the tour and the tour’s accessibility simultaneously.
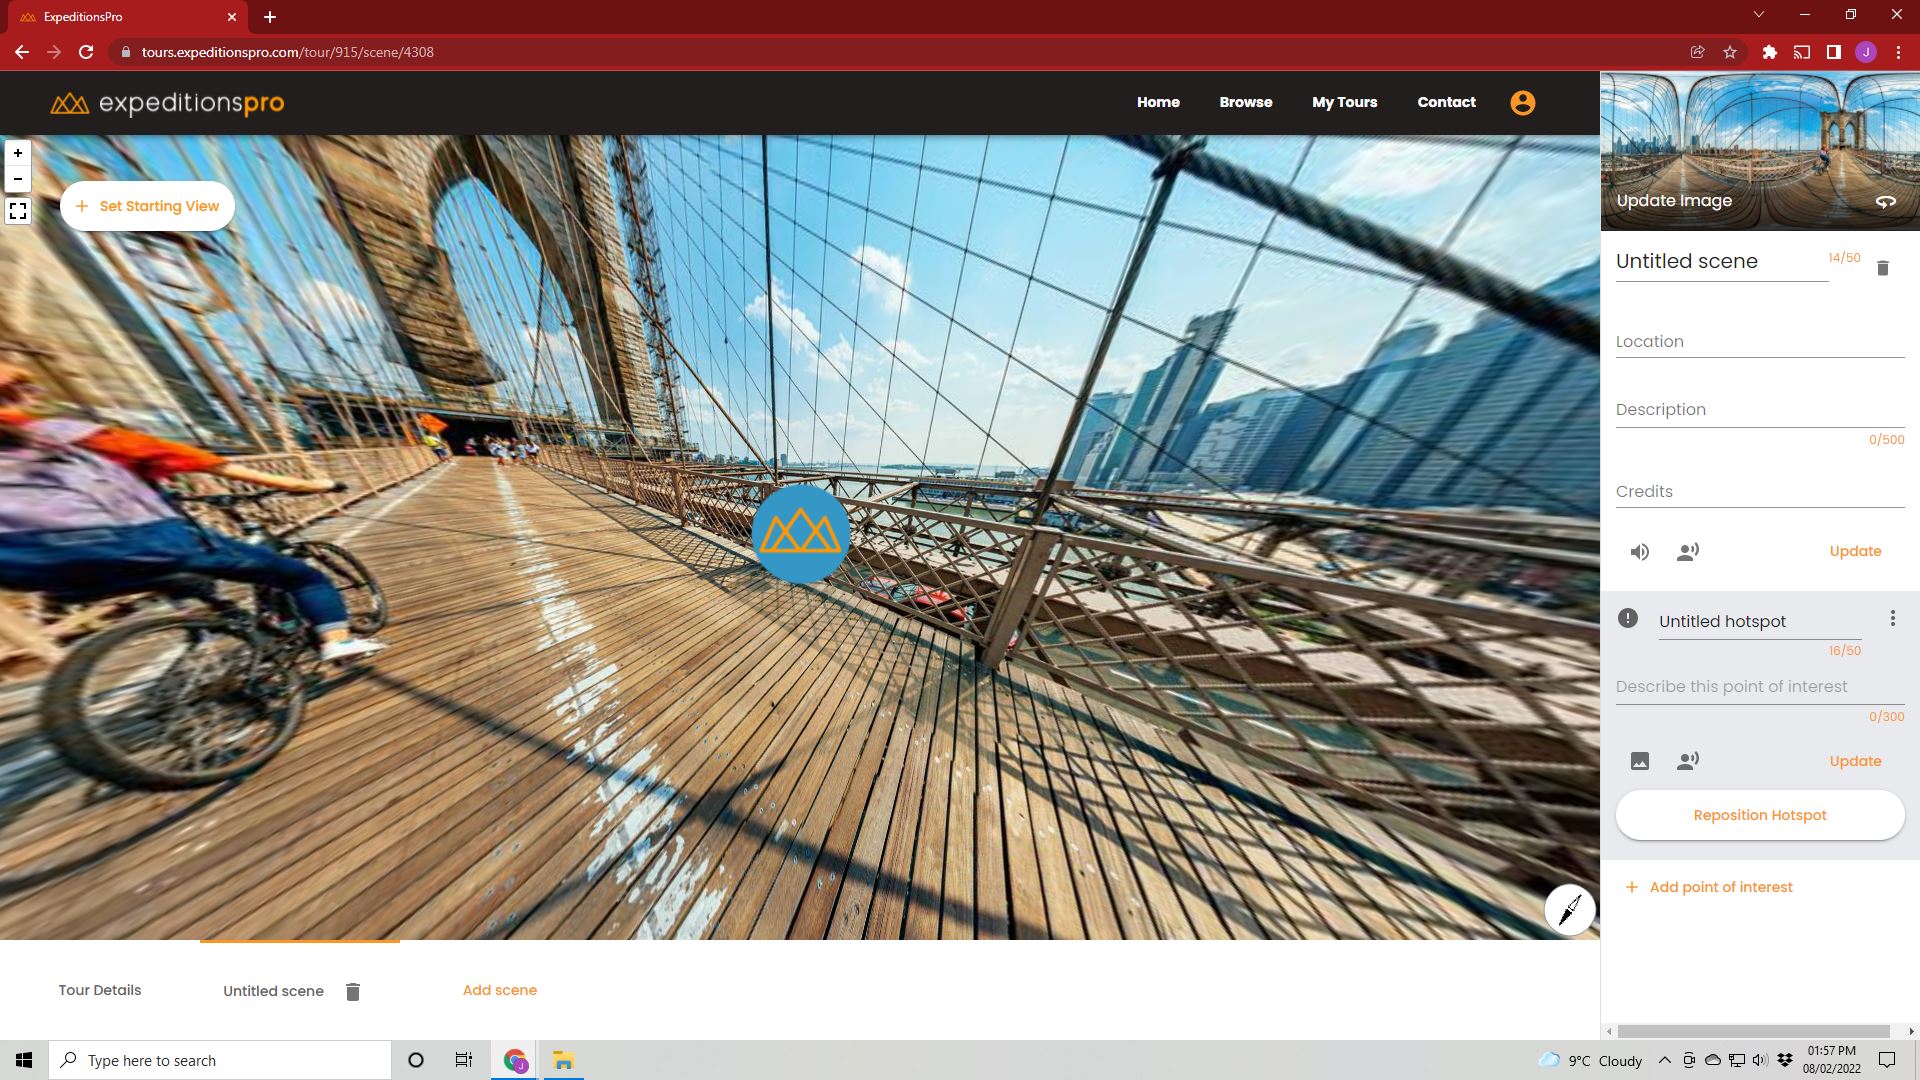
Once a new hotspot has been added, it can be given a title and description. More scenes can be added by clicking the Add Scene button on the bottom toolbar. Once the tour is complete, it can be saved by going back to Tour Details and clicking save.
Start making your tours for free today at tours.expeditionspro.com
Learn more about ExpeditionsPro here.
If you run into any additional issues, feel free to contact us.